
Nov
16
2015
16
2015
Managing Your Expenses in Online Invoices
Start managing your additional expenses:
Through the “Finance” tab, Select the “Expenses” option.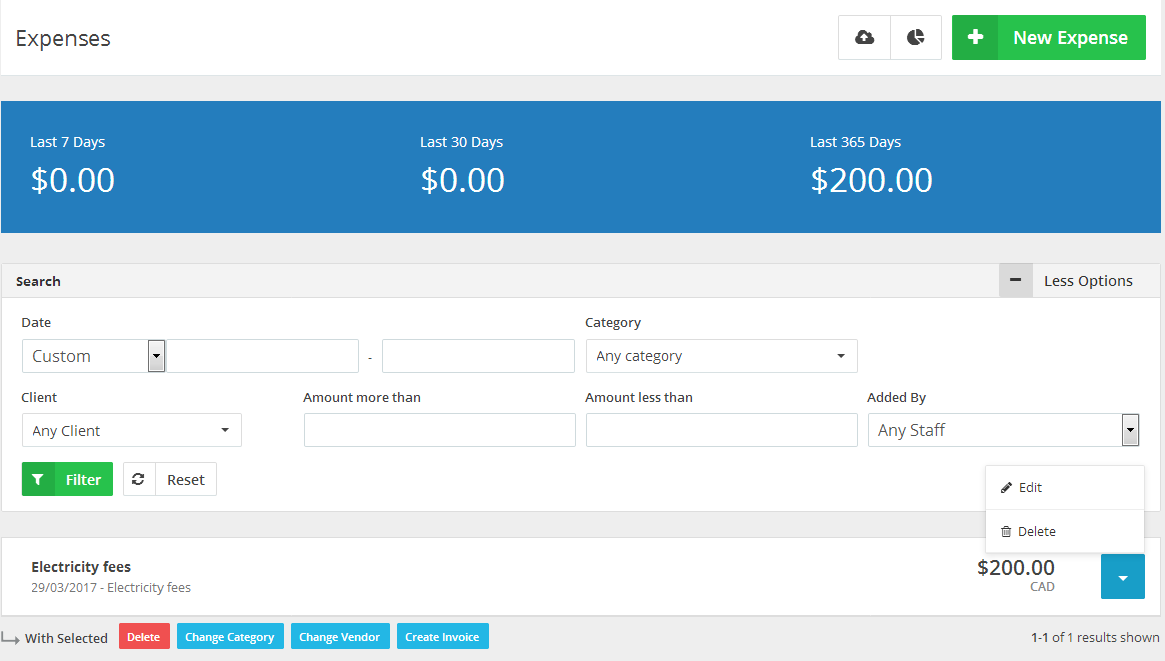
- To create a new expense click the “New Expense” button at the top right corner.
- The Blue Division bar displays your entered “Expenses” during the showing periods which are the: “Last 7 Days”, “Last 30 Days” and “Last 365 Days”
- Use the “Search” bar to search for expenses.
- Use the “Date” section to search for expenses by date.
- Use the “Category” drop-down menu to view the expenses for this category.
- Use the “Client” drop down menu to view the expenses for this client only.
- Use the “Amount more than”/“Amount less than” fields to show the amount in a certain range.
- Use the “Added By” drop down menu to show any expenses created by a certain staff member at your team.
Editing an Expense:
- Through the “Finance” tab, Select the “Expenses” option.
- Click the marked “Blue” button at the right-hand side of the “Expense” row then select the “Edit” option.
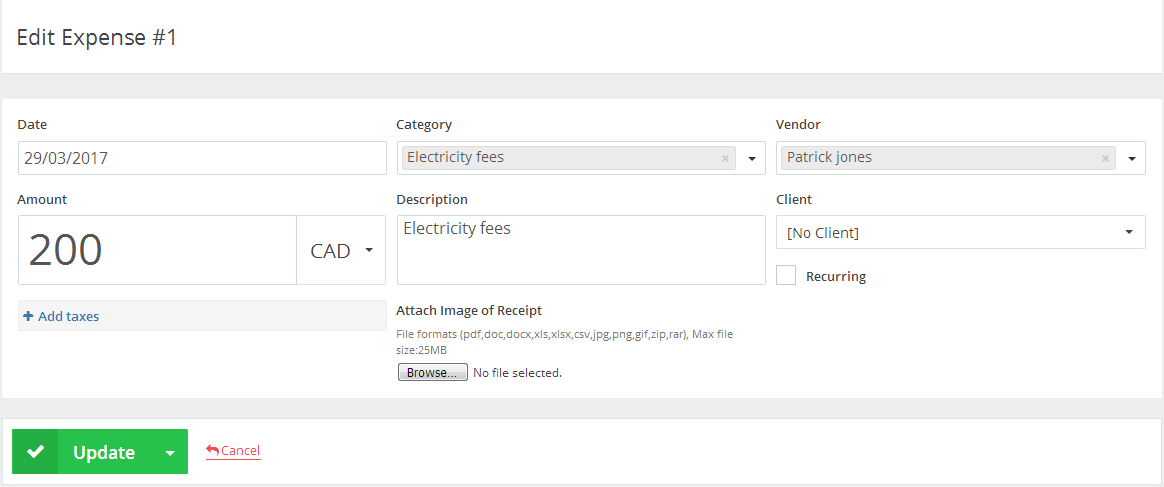
- Edit the details you want to edit.
- Then click the “Update” button.
Deleting an Expense:
- Through the “Finance” tab, Select the “Expenses” option.
- Click the marked “Blue” button at the right-hand side of the “Expense” row then select the “Delete” option.
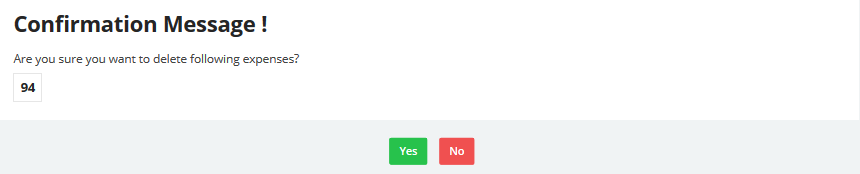
- A confirmation message will populate; so click “Yes” to delete the “Expense” or click “No” to close the window and refer back to the “Expense” page.
Archives
- October 2022
- June 2022
- May 2022
- April 2022
- February 2017
- November 2016
- October 2016
- July 2016
- June 2016
- April 2016
- March 2016
- February 2016
- January 2016
- December 2015
- November 2015
- October 2015
- July 2015
- June 2015
- May 2015
- April 2015
- March 2014
- October 2013
- August 2013
- June 2013
- May 2013
- January 2013
- December 2012
