
Nov
16
2015
16
2015
How to Track Your Time
Before you can start tracking your time you will first need to create a “Project” and an “Activity”.
Start tracking your time:
- Through the “Time Tracking” tab, select the “Time Tracking” option.
- Determine a specific day on the “Calendar”.
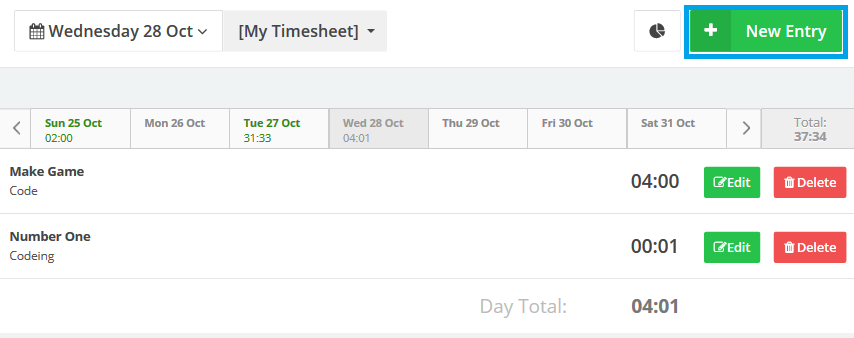
- Click the “New Entry” button at the top right corner.

- Select a “Project” and an “Activity”, and add your time manually in the “Time field” or start the “Timer”.
- Add any “Notes” related to the task.
- Click the “Add” button.
How to import a list of time entries from a CSV file.
- Open the Excel program
- At the first row add the fields “Project”, “Activity”, “Time”, “Date” and “Description” into the A1…E1 fields.
- Beneath every field fill out all the details as showing in the figure below.
- The “Time” Field must be added in either one of these two ways:
- 2.5 which means two and a half hours.
- 2:30 which also means 2 and a half hours.
- The “Date” field must be formatted as your system’s date format so in this case, we will use the DD/MM/YYYY format.

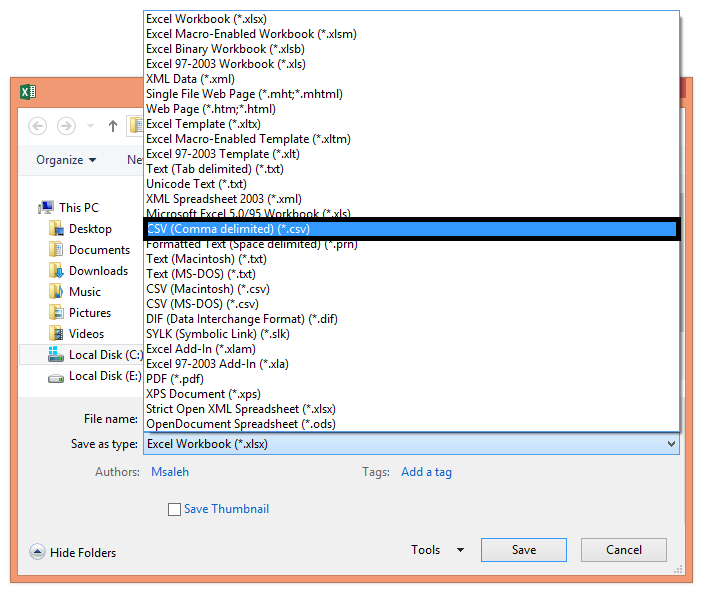
- After you add all your items save the excel file as CSV (Comma delimited.)
- Log in to your online invoices account.
- Through the “Time Tracking” tab select the “Time Tracking” option.
- Click the marked in blue “Import” button at the top right corner.

The importing wizard will start:
Step 1 Import Options:
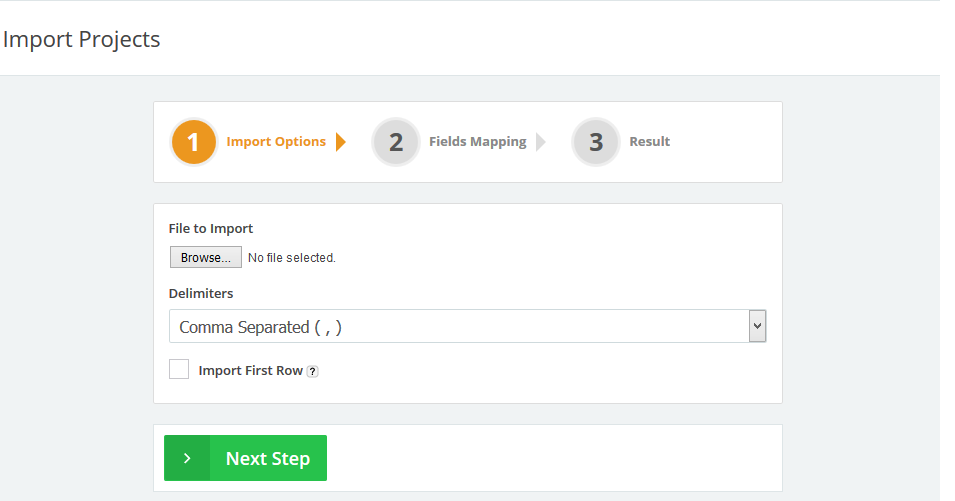
- Determine the file that will be imported (the CSV file we previously saved.
- Through the Delimiters tab, Select the “Comma Separated” option.
- Tick the “Import First Row” check box. If your file contains the same field labels at the first row so in this case, we will not tick the check box.
- Click the “Next Step” button.
Step 2 Fields Mapping:
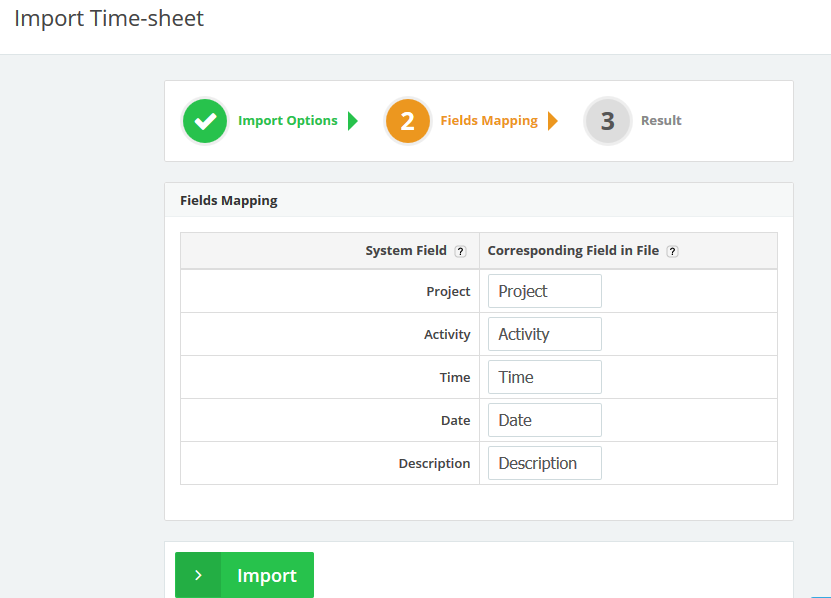
- We will map the fields (Columns) on the imported file to the corresponding fields on the system.
- Select a corresponding field in the file for each system field as showing in the above figure.
- If you entered a new “Project” or “Activity” then it will be saved on the system.
- Click the “Import” button.
Step 3 Importing:
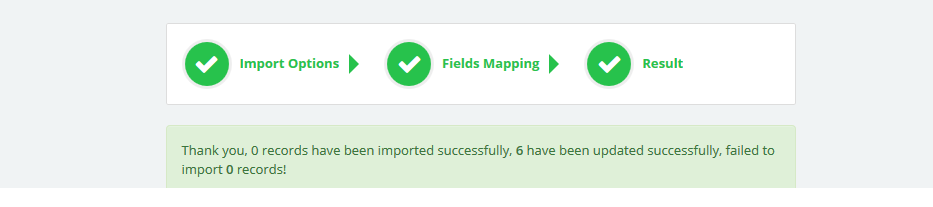
- The system will take a few seconds to import the fields and save them.
- Refer back to the “Time Tracking” page to check the imported items.
Archives
- October 2022
- June 2022
- May 2022
- April 2022
- February 2017
- November 2016
- October 2016
- July 2016
- June 2016
- April 2016
- March 2016
- February 2016
- January 2016
- December 2015
- November 2015
- October 2015
- July 2015
- June 2015
- May 2015
- April 2015
- March 2014
- October 2013
- August 2013
- June 2013
- May 2013
- January 2013
- December 2012
