
16
2015
Changing the “SMTP Settings”
By default, “Online Invoices” sends emails on the user’s behalf using “Online Invoices” email address “maildelivery@onlineinvoices.com” to deliver the emails successfully to their clients without bouncing back or being rejected by the email server.
Although the email is being sent by “maildelivery@onlineinvoices.com” however when the client clicks the “reply” button he will be sending the reply back directly to the business owner’s email address directly.
What if you would like to send your emails from your own email server directly and remove the “maildelivery@onlineinvoices.com”.
To be able to do so you will have to edit the “SMTP Settings” on “Online invoices” software and grant “Online Invoices” the access to send those emails by following these steps below:
- Through the “Settings” tab, select the “SMTP Settings” option.
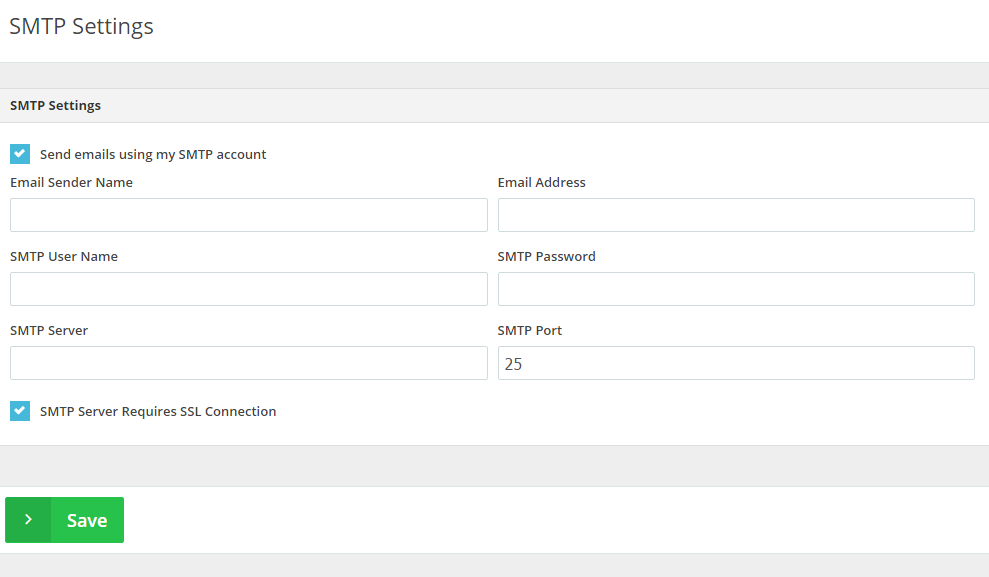
- Tick the “Send emails using my SMTP account” checkbox on the left-hand side to enable the “SMTP Settings”.
- Enable “SMTP settings” from your email provider (Google, Hotmail, Yahoo or your own server) and get the following details:
- “Email Address”: Your email address which you use for the “Online Invoices” system.
- “Note”: you can use another email rather than the one you are using on the system but when the customer presses “reply” he will be replying to the system’s email, not the sender’s email just like as it is sent from “maildelivery@onlineinvoices.com.”
- “Email Sender Name”: Your name or your business name.
- “SMTP User Name”: Typically the same email as your “Email Sender Name” check with your email provider if there are different settings to add.
- “SMTP Password”: Your email password. – this is optional as some servers don’t require authentications.
- “SMTP Server”: Check with your email provider for this settings. E.g. Google uses this host “smtp.google.com”.
-
If you are using “Gmail“ you need to do the following steps first:
1- Click this link below.
https://www.google.com/settings/security/ lesssecureapps
And Select the “Turn On” option.2- check this link below.And then click “Continue”
Important Notes:
it is recommended to use a non-free STMP, as many free SMTP accounts such as “Gmail“ prevents you from sending invoices in emails messages for security purposes, and you will be able to know that if the email message has been bounced back to your email inbox.
-
- “SMTP Port”: Check with your email provider for the “SMTP Port” they are using. E.g. 25, 26. Also, you can leave it empty to use the “default port: 25”
- Tick the ““ checkbox if your server requires “SSL” connection.
- “Email Address”: Your email address which you use for the “Online Invoices” system.
- Click the “Submit” button to save the changes.
Archives
- October 2022
- June 2022
- May 2022
- April 2022
- February 2017
- November 2016
- October 2016
- July 2016
- June 2016
- April 2016
- March 2016
- February 2016
- January 2016
- December 2015
- November 2015
- October 2015
- July 2015
- June 2015
- May 2015
- April 2015
- March 2014
- October 2013
- August 2013
- June 2013
- May 2013
- January 2013
- December 2012
