
Jun
28
2015
28
2015
Managing Terms and Conditions
Through the “Templates” tab, select the “Terms & Conditions” option.
The “Terms and Conditions” page will list all the terms that you have previously created earlier.
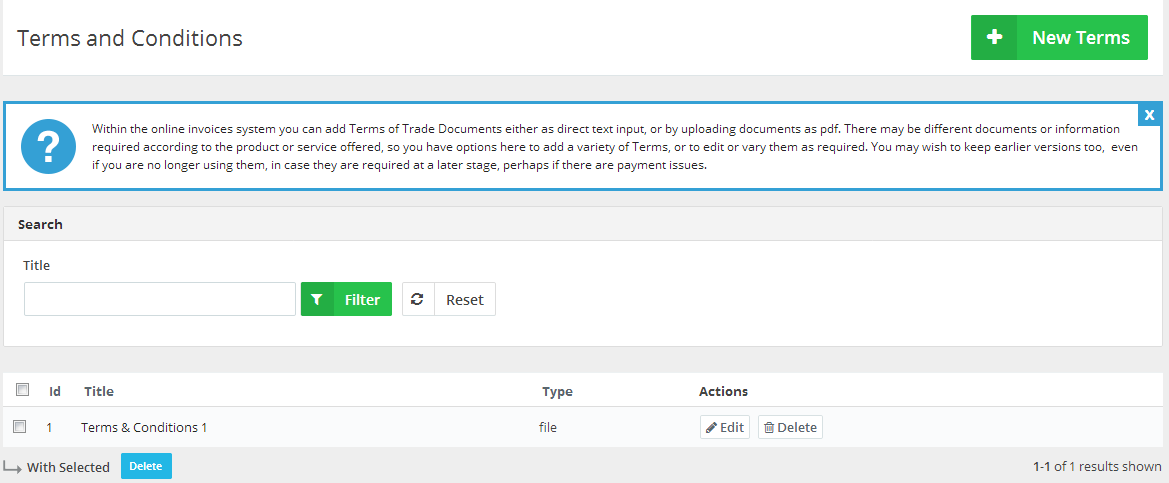
- Use the “Search” bar feature to search for the “Terms” by entering their titles in the “Title” field then click on “Filter”
- Next, to each “Term” click the “Edit” button to edit it or the “Delete” button to delete it.
Adding the New “Terms & Conditions” File.
This detailed disclosure is about adding new “Terms & Conditions” to your “Online Invoices” system. To learn how to add the “Terms & Conditions” to your “Invoice/Estimate” please check the following link: Adding a terms and conditions agreement to the invoice.
- Through the “Templates” tab, Select the “Terms & Conditions” option.
- At the top right corner click the “New Term” button.
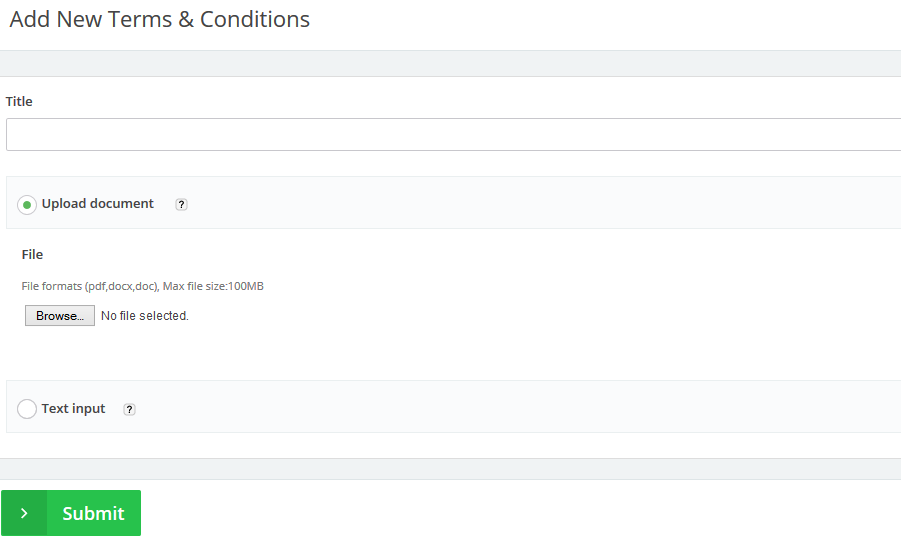
- “Title”: Determine a title for your Terms e.g. “Late Fees”.
- “Upload document”:
- Select this option if you want to upload a “Terms & Conditions” file. This can be attached to invoices if required.
- The (Permitted) file formats are (pdf, docx, and doc) and the max file size is100MB.
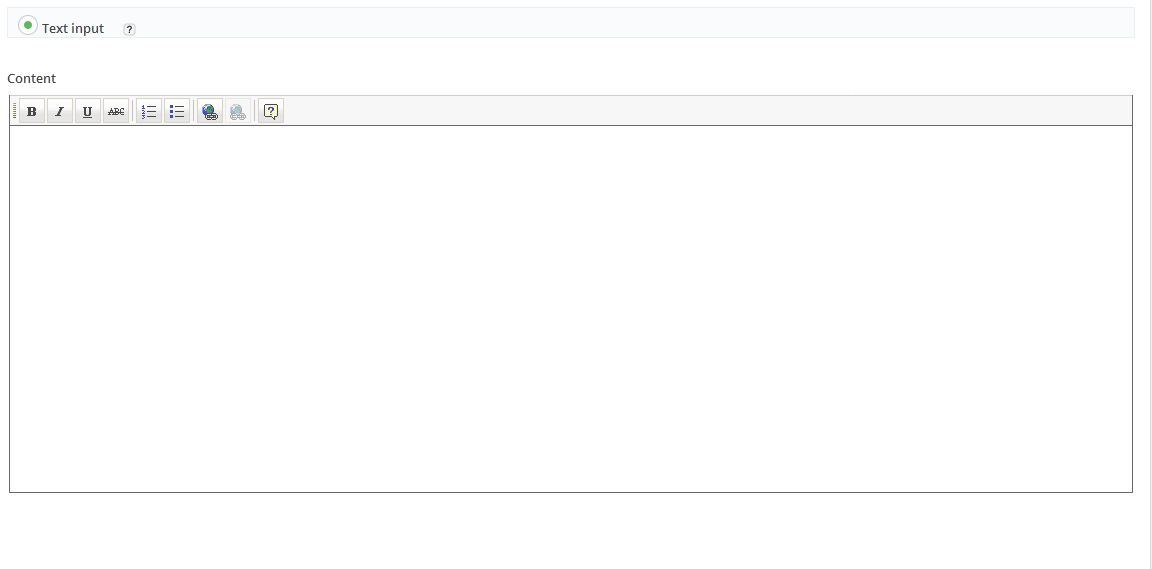
- Text input:
- Select this option if you wish to add any specific “Terms & Conditions” text to be displayed on your payment page.
- Once you choose this option, An “Editor” (“Content”) section will be populated so you can add or paste your text into it.
- Click the green “Submit” button to save the editions made.
Archives
- October 2022
- June 2022
- May 2022
- April 2022
- February 2017
- November 2016
- October 2016
- July 2016
- June 2016
- April 2016
- March 2016
- February 2016
- January 2016
- December 2015
- November 2015
- October 2015
- July 2015
- June 2015
- May 2015
- April 2015
- March 2014
- October 2013
- August 2013
- June 2013
- May 2013
- January 2013
- December 2012
